
It certainly is feeling like fall here in Michigan.
With that in mind, I wanted to share this
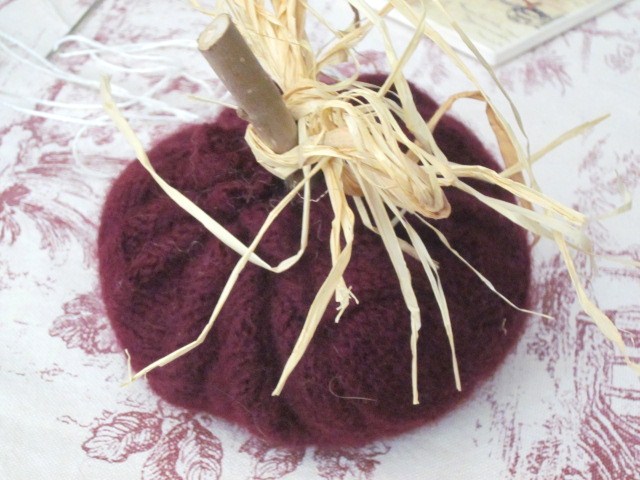
simple and easy way to make those darling
Pumpkins you see all over blogland, Pinterest and
on the web.

Here you see a few I have already made, a few years ago.
Lets Get Started with your Supplies:
Fabric/Sweaters
Batting
Sticks (you can get from nature)
Needle/Thread ( I use a thicker crochet thread)
Raffia, leaves, ribbons
or other embellishments
Plates
(Varying sizes to use for pattern)
Glue Gun

Gather your fabrics and sweaters and supplies all
together.
For my pattern,
I already had some circles cut up, I used these fabric
rounds as my pattern for the sweaters I show below.
For your circles use the different sizes of plates
you have gathered.
I used a saucer, salad plate,
and large plate for mine to have a more
varied size of circles.
Begin cutting your circles.

Side note:
Hubs and I did a MAJOR closet clean out and when I
was folding everything,
I grab these two sweaters due to their colors.
Such a great way to recycle or upcycle
old clothing.
I also cut off the arms for a
later project idea I have.

See my stack?
I am planning on making quite a few as I
sit and watch football with my family this weekend!
lol

So now your circles are cut lets begin sewing them.
1. Thread your Needle and begin a BASTING stitch around
the top 1/3 -1/2 inch.
You will baste stitch all around the circle.
I pull the thread as I go
and gather or create a hole.
2. Now you have a circle complete with the mouth open
3. Fill with batting and tighten your thread.
4. Cinch and Sew up to secure, place stem in center
and then glue this all together and embellish

You can now embellish like I did with raffia, leaves
or even make varying sizes of pumpkins to stack
on top of each other.
Some people even fill these really tight and then
wrap with jute/rope to mimic real pumpkins.
The fun is using your imagination and creating
something just for you!
There is no right or wrong way to do these.

I have placed a few by the sweet lil Clay Scarecrows
I have made...tutorial is HERE.

Mr. Tiger has been having a blast with these!
I think there is something about the raffia that
is attracting him. He will grab, claw at and
toss them all over, it is soooo funny to watch!

I would so love to hear from you if you give these a try!
Do you have other ways or ideas of how these can be used!
I would love to know!
I even made some up in Shabby pinks,
blue and greens!

Be Blessed!

Parties I am Link to:
4 comments:
Cute! I was looking at sweater pumpkins on pinterest this morning! they will be my first fall craft AFTER I finish painting my frame for the porch! I'll keep you posted. ♥
HAPPY
BELATED
BIRTHDAY!!!!
Love the counter faux finish you did!!! WOW, looks awesome!
Darling pumpkins! I made a couple last year! They are so much fun to make!
Warmly,
deb
Happy late birthday . . .
These are great . . . I'll be checking out the Goodwill for old sweaters, tomorrow is senior discount day :)
Thank you for the great tutorial.
Your blogging sister, Connie :)
Seriously cute pumpkins! Thanks for sharing on The Creative Home & Garden Hop...hope to see you again today!
http://littlehomesteadonthehill.blogspot.com/2013/09/the-creative-home-garden-hop-10.html
Post a Comment