Rose ~ Chic ~ Friends: My blog is all about you; friends and sharing lifes journey...My love for all things Chic; repurposed, crafted, painted in many venues... and My LOVE for all things Roses! which show up in my home and created projects.

Monday, July 25, 2011

***Sharing Recent Etsy Shoppe Listings***

Hello Dear Blogging friends!

Thanks for stopping by today!

In between my cleaning and sprucing up my home
I have been inspired to get a few goodies
finished and listed in my etsy shop.
I'd LOVE for you to stop by and take a peek!

I did a line of crosses and have more to finish up...
but I offer them in pinks, white and lavender too.
I also introduced a new category *Office Rose Goodies*...
as it seems many of the items I have been working on
lately fall in the to organization and office area.

This tray is soooo versitile...its magnetic...can hang or
even be used in your vanity area for bottles...
many colors to choose from...
each one comes with a matching rose magnet!

Then I love finding these old clipboards as they are such
a pretty way to keep papers organized!


This was a trash to treasure redo...or castoff picture that I didn't
like and decided to create a unique HEART of Roses on...
very 3 dimensional and so pretty to!
And besides roses...hearts rank up there in my
love category!


Okay, so I put this last picture in because I forgot to showcase it
in my recent Master Bath Spruce up.  This piece once
housed my pins and brooches, but when I made my
blingy wreath, well I came up with this...
using a mixture of my pink roses and some vintage bling!
Hearts and roses...
doesn't get any better than those two together!


If you like what you see...I am always happy to custom make
these for you...so just let me know!


There you have it....a few goodies that I have been
working on recently.

Thanks again for stopping by...
I certainly LOVE hearing from my sweet
chic friends!

Be Blessed!
Lorena

Friday, July 22, 2011

***Blogger Inspired Master Bath Spruce UP***

Hey sweet friends!

Today I finally got my pictures all ready to share with you
some of the *sprucing up* that I have done
in my master bath area.
This area is challenging to say the least.
A good sized area, with HIGH cathedral
ceilings that makes everything look askew.

As I have been going room by room and doing my spring
cleaning a bit late...I ran across the neatest idea
and that got my juices overflowing from Nancy blog
(a great blog about transferware, home and much more!!) 
 She did a post
  last year with some amazing ideas and
ways she spiffied up her master bath area.
What struck me was she had the same LOOOOOONG
mirror above her vanity/sink area
that was so much like ours that before
I knew it...I had my inspiration.
And thus my story goes...

Please keep in mind...hubs had been out of work
for 2 years and started a new job in which he commuted
for10 months... but PTL
now he's home and we may get to those
much needed projects...
so...
we have had no funds to update for the 
 past 3 years...before *life* got in the way!
I guess what I am really trying to say is...
I am trying real hard to *making do* and being as creative as I can
 right now with builders crap original
stuff they put in a new home...18 years ago.

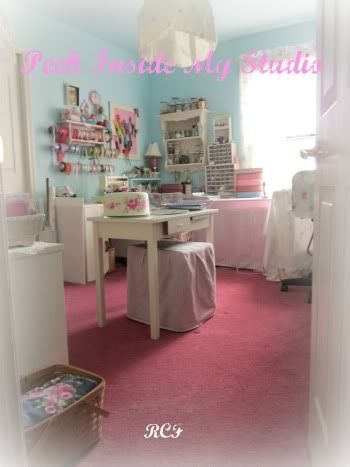
Sorry bout the mess...but I am glad I grabbed my camera
so you could see the space BEFORE...
obviously not bad...but in need of
something more!

Yes folks, that is CARPET!!! Why would a builder
put carpet in a bath area is beyond me!!!

Love my dreamy garden bath tub area
 I create a few years ago!
If you look reeeeeally close I did a faux
*stained glass* treament on the window
for added privacy.

See those peaks on theceiling...they are so off center
and it does not make anything look right...
so we painted the ceilings to match the walls in a
effort to help hide them...

Okay another thing...
 I stongly dislike those UGLY *Hollywood Light fixtures*!
Another, why would they put those in anyones bath area???
is beyond me...
I didn't get to pick them
 or
you know they'd be different!

On to what I did.
  Nancy's idea was to take fabric and
swag it on the top of the mirror area.  Now her's looks so much
better than mine because
she didn't have to work around hiddeous lights.
I did find this creamy white swag at the SalvArmy
for $10 and
was so happy with how perfectly it worked.

I knotted the swag to help it fit within my space...
fasten them to the wall with quilters long straight pins
 cause I didn'thave much space to work with
between the fixture and mirror. 
(yep use what you can)
Then I remembered I had some
long pearl strands I use on my Christmas trees and
drapped those around to swag.
Starting now to get a more romantic feel.

The final touch was some silk flowers tucked into the
corners and middle...
Oh and do you see my wreath?
It's full of pins, brooches and bling...
My HOW TO is HERE.
I hung it by a pretty 3" satin ribbon and love how
it breaks up the long mirror.


Then...Nancy had used her gorgeous transferware
above her beautiful swag...
And since I am a plate lover and collect them with
soft pretty roses...
I knew where to find some... 
I went shopping around my home for plates
and was so happy with what I came up with.

I first laid them out as I wanted to hang them...

Below is the left side...
right side...

and how it looks all together.
Now you can see I centered them above our sink area.
(not by the peak of the ceiling)


After I got this all done then the fun really began cause
I could dress up this room in a fun by shabby
romantic chic way!
In keeping with my pinks, blues and creamy whites...
I began gathering...
Our LOOOONG vanity area got a fresh new look,
found plates to use for display and setting out
what we use daily...
it certainly purtifying it!


I also used spare towels around the room...
check out my tutorial on how to make ROSETTES
from hand/wash clothes towels, HERE.


Then I brought in a box to add height to a pretty
table I keep where I get ready in the morning and
have jewelry I wear the most close at hand...
But...this girls has loads of bling
and sweet hubs bought me a large standing jewelry
box I keep in another corner.

Shower area next...
Here's a peek into our shower area...I have used
Rachel Ashwells Target line of Shower Curtains here
and on my large window!

Here's one of the very first things I painted roses on...
I was learning and nothing was sacred at that time...
now I think mine are so much
more improved...but a good reminder of
how far I have come in my painting!

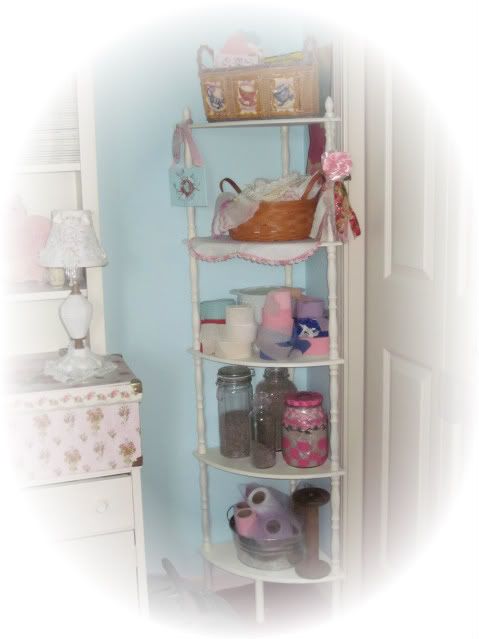
A pretty decorated shelf above my toilet!

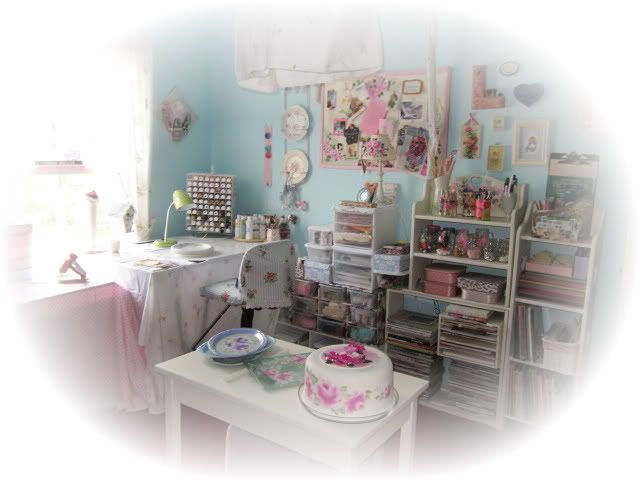
Last area I'd like to share is around our
Garden Tub...it is SOOOO bright here that
I had to take a gazillion pictures to get this one...

and then you can't see it very well...UGHHHHH!

A closer look at the walls...

and many vingettes I have placed around...

*I LOVE Roses*
pretty much says it all about me!


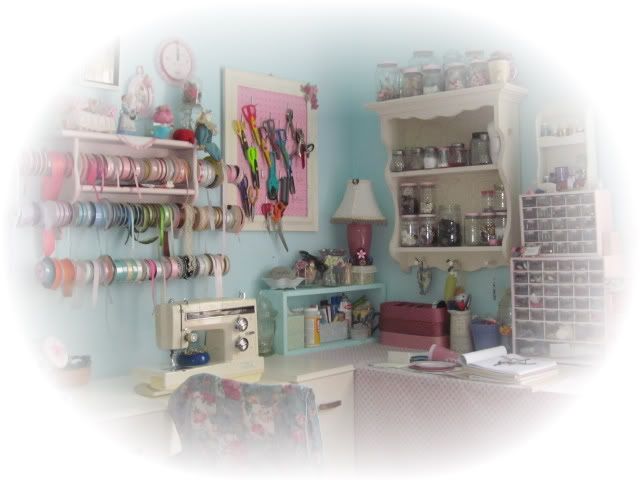
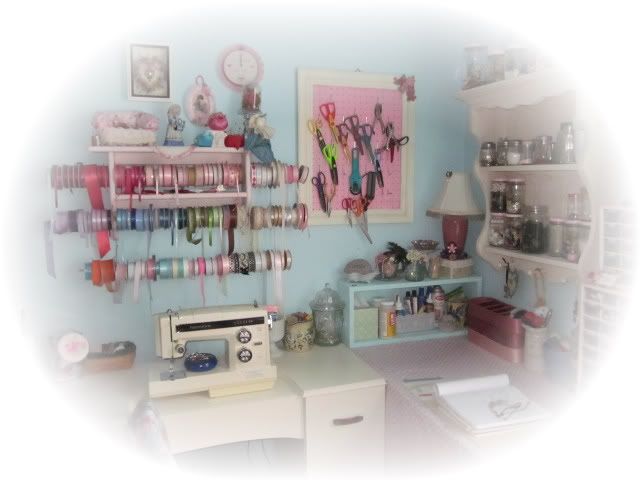
Close ups of some Pink pretties!

This area is also used for picture staging/taking of the things
I sell in my etsy store...so the brightness does
come in handy for somethings.

The statue above I got because it reminds me
that I was raised in the Seattle area...Bumper Shoots
(umbrellas) are your most needed accessory!

One more thing...

I found an extension rod...for $3 and already had
this lacy tablecloth...love how it soften these cabinets.
Can't believe I didn't think of doing this earlier!


There you have it...my
Master Bath Sprucing up for 2011!

Just dreaming...but hoping to someday remove
the cameo mauve carpets for tiles with
heat underneath...a must in Michigan.
Also, a gut job of the shower area to enlarge
and tile that as well.
Now...hubs and I differ over whether to
paint our cabinets or not...I say yes,
and as most men are...he has an
aversion to painting over wood.
We shall see who ends up winning that one
...someday!

I am linking up today with...


Be Blessed and Inspired!


Thursday, July 21, 2011

~~~Recent Thrifting FINDS~~~

Hey Sweet Chic Friends!

It's that thrill of the hunt!
A giddy feeling you get when you spy that
oh so wonderful treasure...
YOU MUST HAVE!!!

Yep, I think many of us can relate to this!
I love seeing other bloggers share their
many treasured finds!

Would you like to see some recent treasures
I have found?

I collect vintage Purses and this one reeeeeally caught my eye!
Some creative person took a lovely purse and made it even
better...if you look close, a needle point piece
has been overlayed on top of the front side of this purse...
then it was embellished with velvet leaves and really
cool bead work! Snagged this jewel for $5!!!

LOOK at this shelf!!!!
I am seeing this all done up in creamy whites!
A real steal...$5


Then I spied these ceramic roses on a wire!
NEVER have I seen anything like these before...hmmm
I have loads of ideas of how these can be used!

Of course, you all know I have a *thang* for roses.
These papered style roses were all the rage in the late 80's
and I have seen many in pinks but have not seen them in blues...
but I knew just what I'd do with these pretties!
steal....99c

LOVE, LUV, LURVE the shape of this jar!
Sweetie for $3!!!

See, I have already put it to good usage!
I have so many unwound ribbons and need a place to put them
so I can see them...you know I am soooooo visual.
Gotta have my pretty things so I can see them! lol

So... remember the blue roses?

I added a little tulle and then hung it from the top
of my lovely dresser mirror!
Loving how it looks now!


There you have it...isn't this fun?
I sure thinks so!

Thanks for stopping by!

Lorena!


Thursday, July 14, 2011

~~~Where Bloggers Create~~~ 2011 ***Rosechicfriends Studio***

~~~WELCOME~~~

I am so happy to have you stopped by for the 3rd year of
where bloggers create!

Over 3 years ago my hubby and I turned my 19 year old daughters
nursery bedroom (or spare bedroom) into my Art Studio. 
My plan...a soft robins egg or aqua blue for the walls to
backdrop the creamy Accents Heirloom White that I
used on all the painted surfaces that I have in my little studio.
This room is a mere 10.5x11.5.  So tiny in nature
but I hope big in storage ideas and lots of room to create!


I have created 3 basic work spaces...
sewing, crafting and painting...
with a middle table workspace. 
(which I am still looking for the right table)

Here you will see below, a look at my Painting Table.
I have set it up with my paints and needed items right
at my finger tips.  I use a large drafting table
hubby got me many years ago... or before we designed this room. 
To disguise its ugly black surface I used a pretty
vintage sheet...love the look.
Then we move over to my crafting and sewing area.
Can you tell I am a visual person? I need my *things* out
so I can see them...or its outta sight, outta mind for me!
Okay...now I will showcase some of the creative
pretty ways to display the many items I used when I am
crafting, sewing or painting...
as many times I am doing 1, 2 or all 3 of these
at the same time.
I also have collected Vintage Quilted Glove/Hankie Boxes
and those house my clay roses.
Ribbon HOLDER: Convereted Shelf I drilled holes into and
put dowels through...its an ever growing supply of ribbons I seem to have!
SCISSOR Board: Took and Old frame and painted in my color
and then had hubby cut a peg board to size!
I also used this $3 garage sale shelf for my small ribbon roses,
containers I painted the lid pinks for buttons and glitters.
Then I used KRYLON's Plastic Paint on the two mini-
drawer shelfs that are stuffed with other goodies inside!
Now on my largest wall I created unique shelving by stacking
a few different things to create ways for me to work.
One of the coolest is a 9 cubby hole cardboard
shoe shelf...I have dollar store plastic shoe containers and they
house most of my laces.  And best of all it works
like a dresser with open drawers to see in.

See...you can see what's inside!
More close up of ways I have stored my supplies.
And...many magazines and books for help and ideas
are housed here as well.
Then on the inside wall I took two cast off pieces,
painted them and stacked the bookcase on top and...
whaaalaaa
More wonderful display and storage.
Then tucked close to my *stuffed* closet
I took a corner shelf and painted it and loaded it up
with supplies!

So there you have a look around to the inside workings
of my humble studio! 

Thanks so much for stopping by!
Can't wait to see all the other creative
way's we bloggers CREATE!!!

Also...thanks to Karen for organizing the fun event!
Link is up top LEFT for you to see the other participants.

Be Blessed!
Lorena